

1
Complete onboarding
After you sign up, onboarding asks for your region and your brand. Trackbase analyzes your website to prefill the brand details. Review them and correct what is wrong, because the brand name and its aliases decide which mentions Trackbase can detect. Onboarding ends with choosing a plan.Choose the region where your customers are. AI answers differ per market, so the region decides which market your prompts are measured in.
2
Add your prompts
A new workspace has no prompts yet, and the dashboard shows a reminder until you add some. Open Prompts in the menu. You can add prompts in two ways:
- Suggestions: Trackbase generates prompts from your website, from your Google Search Console queries, or from Google’s “People also ask” questions. Search Console and People also ask depend on your plan.
- Manually: type or paste prompts, one per line, and pick a category and optionally a region.
Only admins can add prompts. Your plan sets the maximum number of prompts.
3
Connect your website
Two connections complete the picture. Both are set up from Settings:
- Visitor analytics: add the Trackbase tracking script to your website to measure visits, including visits from AI assistants.
- Crawler analytics: record AI crawler requests server-side through Cloudflare (Logpush or a Worker) or the Trackbase Analytics WordPress plugin.
4
Read your first results
Each active prompt runs once every 24 hours on every model you track. Open Dashboard for the overall numbers, then open a prompt on the Prompts page and read a few answers in full. The metrics summarize, the answers explain: who gets recommended, which sources are cited, and where you appear.Expect the first days to be noisy. Trends need several days of data.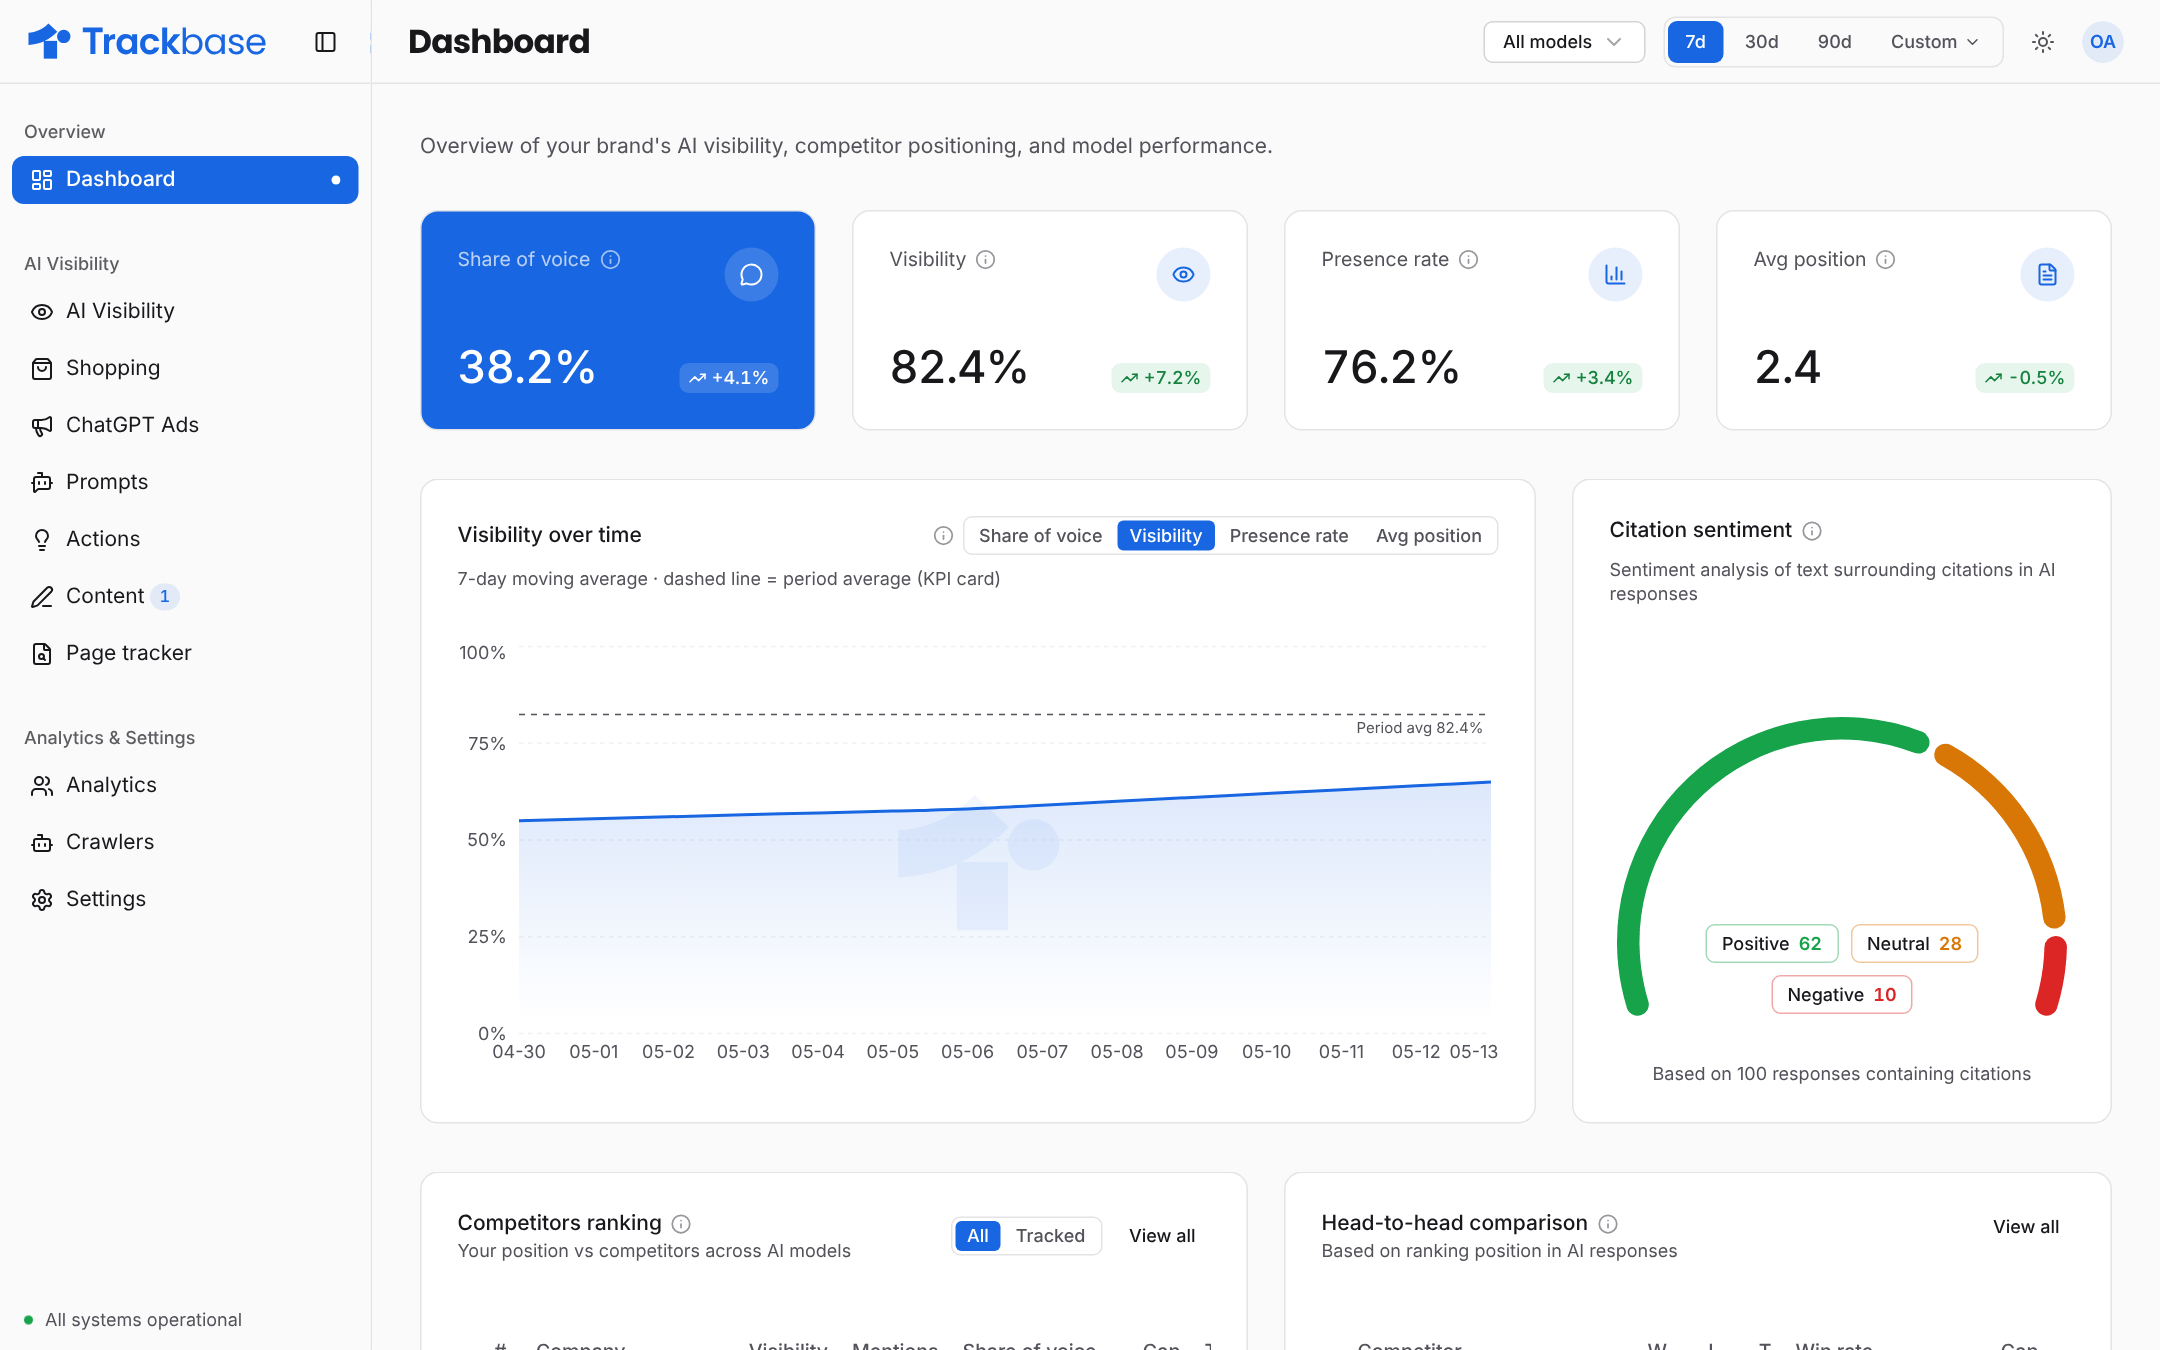
What happens next
- Learn what the numbers mean in the metrics overview.
- Complete your brand profile and clean up your competitors.
- Connect visitor analytics and crawler analytics.
- See what each menu item does in the product map.
- Look up unfamiliar terms in the glossary.